

The design, structure, and overall appearance of your website are controlled by a WordPress theme. Whether you’re creating a blog, business website, portfolio, or online store, choosing the right theme is one of the most important decisions you’ll make.
The good news is that installing a WordPress theme is a simple process. WordPress offers multiple ways to install themes, making it easy for beginners and experienced users alike. You can install a free theme directly from the WordPress Theme Directory, upload a premium theme purchased from a third-party provider, or even install a theme manually using FTP.
You’ll learn how to install WordPress theme using different methods, how to avoid common installation mistakes, and what to do after your theme is activated.
What Is a WordPress Theme?
A WordPress theme is a set of files that controls the appearance and functionality of your website. It controls elements such as:
- Website layout
- Fonts and typography
- Colors and styling
- Header and footer design
- Navigation menus
- Blog page appearance
- Mobile responsiveness
You can think of a WordPress theme as the visual foundation of your website. While plugins add functionality, themes control the presentation of your content.
Thousands of free and premium WordPress themes are available, allowing you to create virtually any type of website without coding.
Why Choosing the Right WordPress Theme Matters
Many website owners focus only on appearance when selecting a theme. However, a theme impacts much more than design.
A good WordPress theme can:
- Improve user experience
- Increase website speed
- Enhance mobile usability
- Support SEO best practices
- Improve conversion rates
- Reduce technical issues
On the other hand, a poorly coded theme may slow down your website, create compatibility problems, and negatively affect search engine rankings.
This is why choosing a reliable and well-maintained theme is essential before installation.
Things to Do Before You Install WordPress Theme
Before installing a new WordPress theme, take a few steps to prepare your website.
-
Back Up Your Website
If you’re changing an existing theme, always create a backup first.
A backup allows you to restore your website if something goes wrong during the installation process. Most hosting providers offer backup tools, and many WordPress backup plugins can automate the process.
-
Check Theme Compatibility
Not every theme works perfectly with every plugin or WordPress version.
Before installing a theme, verify that it:
- Supports the latest WordPress version
- Receives regular updates
- Works with your required wordpress plugins
- Is compatible with mobile devices
-
Choose a Trusted Theme Source
Always download themes from reputable sources.
Reliable options include:
- WordPress Theme Directory
- Official theme developer websites
- Established theme marketplaces
Avoid downloading nulled or pirated themes, as they often contain malicious code and security vulnerabilities.
How to Install WordPress Theme from the WordPress Theme Directory
You can easily install a free theme directly from your WordPress dashboard.
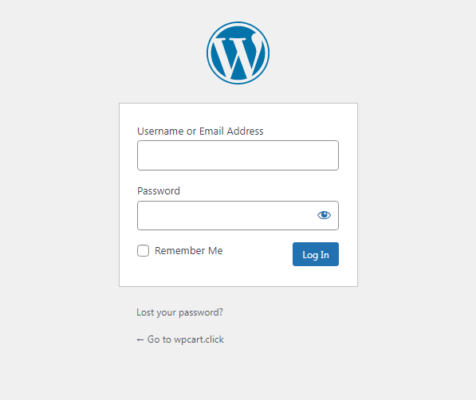
Step 1: Log In to Your WordPress Dashboard
Access your WordPress admin area by visiting:
yourdomain.com/wp-admin
Enter your username and password to log in.
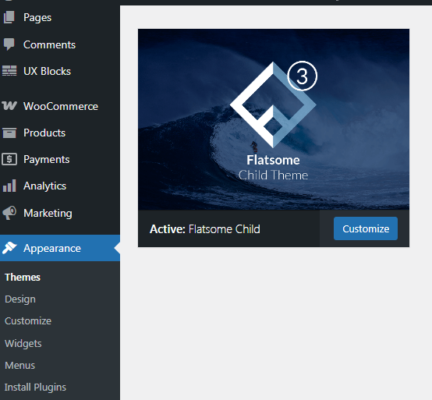
Step 2: Navigate to Appearance > Themes
After logging in, locate the left-hand menu. Then Click: Appearance → Themes
You will see all currently installed themes.
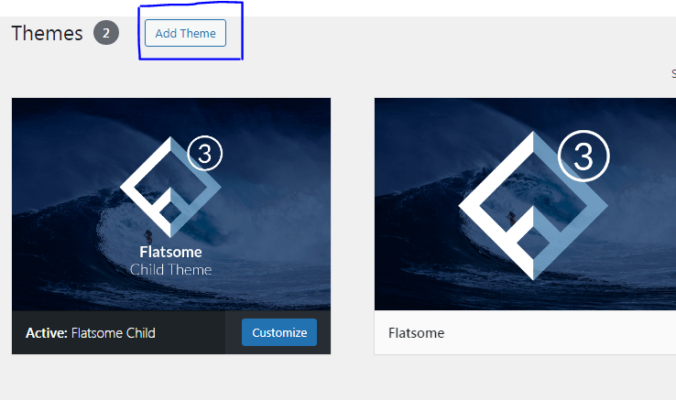
Step 3: Click Add New Theme
Click the “Add New” button at the top of the Themes screen.
WordPress will display thousands of free themes available in the official directory.
Step 4: Search for a Theme
You can browse themes using categories such as:
- Featured
- Popular
- Latest
- Favorites
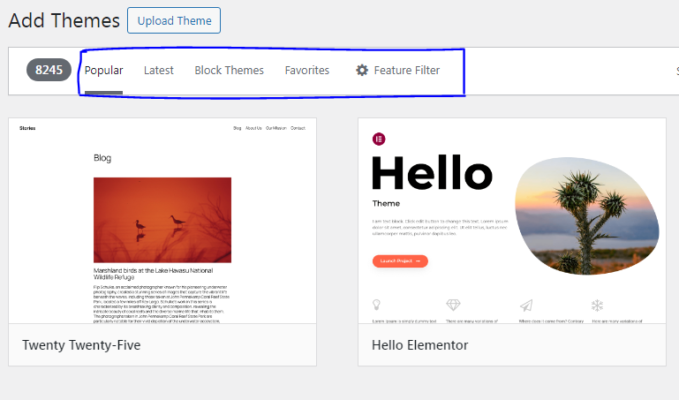
You can use the search bar to look for a specific theme.
For example, if you’re creating a photography website, search for terms like:
- Photography
- Portfolio
- Creative
WordPress will display relevant theme options instantly.
Step 5: Preview the Theme
Before installation, click Preview to see how the theme may look on your website.
This allows you to evaluate:
- Layout structure
- Navigation style
- Typography
- Overall design
Previewing helps avoid installing themes that don’t match your goals.

Step 6: Install the Theme
Once you find the theme you want to use, then click the “Install” button.
WordPress will then automatically download and add the theme to your website. The process usually takes only a few seconds.
Step 7: Activate the Theme
After installation is complete, then click Activate. Your new theme will immediately become active and visible to website visitors.
You can now start customizing it to match your brand and content.
How to Install a Premium WordPress Theme
Many website owners choose premium themes because they offer advanced customization options, better support, and regular updates.
Unlike free themes found in the WordPress Theme Directory, premium themes are typically purchased from developers or third-party marketplaces.
Step 1: Download the Theme ZIP File
After purchasing a theme, you will receive a ZIP file for download. Save this file to your computer before proceeding with the installation.
Do not unzip the file unless the theme developer specifically instructs you to do so.
Step 2: Go to the Themes Section
Log in to your WordPress dashboard.
Navigate to: Appearance → Themes
Then click Add New Theme.
Step 3: Upload the Theme
At the top of the page, then click the “Upload Theme” button.
Next:
- Click Choose File
- Select the ZIP file from your computer
- Click Install Now
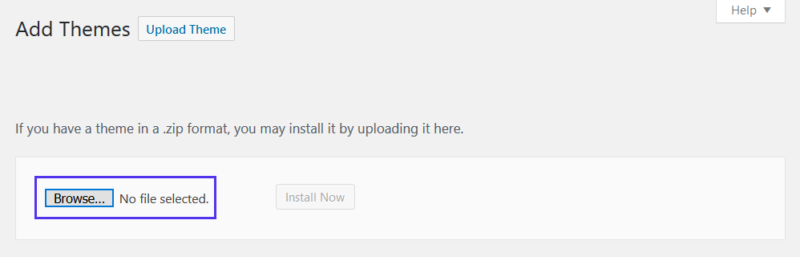
WordPress will begin uploading and installing the theme automatically.
Step 4: Activate the Theme
Once installation is complete, then click Activate.
Your premium install WordPress theme is now active and ready to use on your website.
Step 5: Install Required Plugins
Many premium themes recommend or require additional plugins. After activation, WordPress may display notifications asking you to install these plugins.
Installing the recommended plugins helps ensure all theme features work correctly.
How to Install a WordPress Theme Using FTP
FTP stands for File Transfer Protocol. This method is useful when:
- The theme file is too large to upload through WordPress
- You receive upload errors
- Your hosting provider limits file uploads
- You want more control over the installation process
Although FTP installation is slightly more advanced, it is still manageable for beginners.
Step 1: Install an FTP Client
Download an FTP application such as:
- FileZilla
- Cyberduck
- WinSCP
These tools allow you to connect directly to your website files.
Step 2: Obtain FTP Credentials
Your hosting provider will provide:
- FTP hostname
- Username
- Password
- Port number
These details are usually available in your hosting control panel.

Step 3: Connect to Your Website
Open your FTP client and enter your credentials.
Once connected, you’ll gain access to your website’s files and folders.
Step 4: Upload Theme Files
Locate the WordPress themes directory:
wp-content/themes
Extract the theme ZIP file on your computer. Upload the extracted theme folder into the themes directory.
Depending on the file size and internet speed, the upload process may take several minutes.

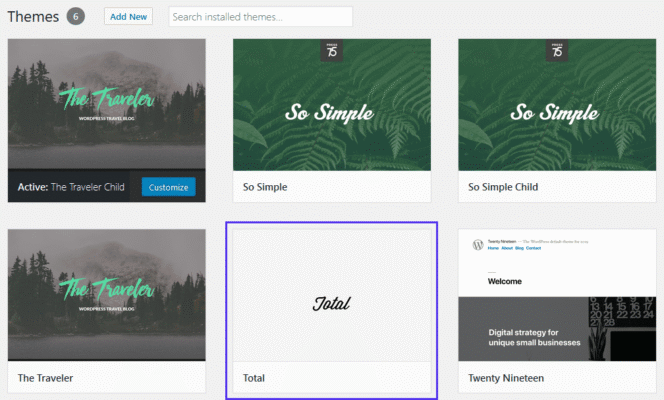
Step 5: Activate the Uploaded Theme
After the upload finishes:
- Log in to WordPress
- Navigate to Appearance → Themes
- Locate the uploaded theme
- Click Activate
Your theme is now installed successfully.
Common WordPress Theme Installation Errors and Their Solutions
Theme installation is usually straightforward, but occasional errors may occur.
-
Missing Stylesheet Error
This is one of the most common installation issues.
It usually happens when:
- The wrong ZIP file is uploaded
- The downloaded package contains documentation instead of the actual theme
Solution
Extract the downloaded package and locate the correct theme ZIP file before uploading again.
-
Theme Upload Failed Error
Sometimes WordPress displays an upload failure message.
This often occurs because:
- The file size exceeds hosting limits
- Server restrictions block uploads
Solution
Increase your PHP upload limit or use the FTP installation method.
-
White Screen after Activation
A blank white screen can appear due to:
- Plugin conflicts
- Theme coding issues
- Memory limitations
Solution
Deactivate plugins one by one and test the theme again.
-
Compatibility Problems
Older themes may not work correctly with newer WordPress versions.
Solution
Choose themes that receive regular updates and ongoing support from developers.
What to Do After Installing a WordPress Theme
Installing the theme is only the beginning. Proper configuration helps you get the best results.
1. Customize the Theme
Go to: Appearance → Customize
Here you can modify:
- Site logo
- Colors
- Fonts
- Homepage layout
- Header settings
- Footer settings
Customization options vary by theme.
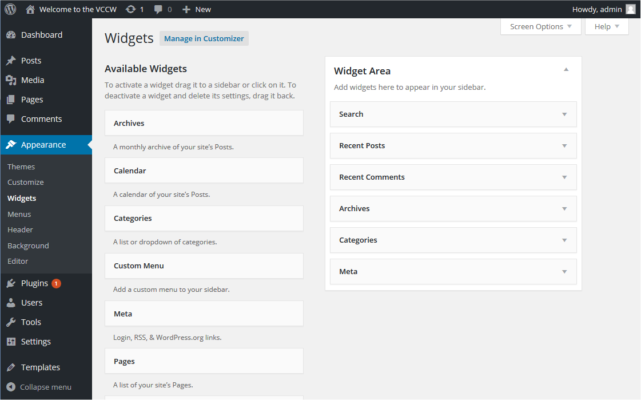
2. Add Widgets
Widgets allow you to place content in sidebars and footer areas.
Popular widgets include:
- Recent posts
- Search bar
- Categories
- Social media links
- Newsletter forms
3. Install Recommended Plugins
Many themes work best when paired with specific plugins.
Common plugin categories include:
- SEO
- Security
- Caching
- Backup
- Contact forms
Tips for Choosing the Best WordPress Theme
With thousands of themes available, selecting the right one can be challenging.
-
Prioritize Speed
Fast-loading websites improve user experience and search engine rankings.
Choose lightweight themes that avoid unnecessary features.
-
Look for Mobile Responsiveness
Most website traffic now comes from mobile devices.
Your theme should automatically adapt to:
- Smartphones
- Tablets
- Different screen sizes
Choose themes with consistently positive feedback.
-
Ensure Regular Updates
Themes should be updated frequently to:
- Fix bugs
- Improve security
- Maintain compatibility
Avoid themes that have not been updated for long periods.
-
Verify Plugin Compatibility
Your theme should work smoothly with popular plugins. Compatibility reduces conflicts and improves website stability.
Conclusion
Learning how to install a WordPress theme is an essential skill for every website owner. Whether you choose a free theme from the WordPress directory, upload a premium theme, or install one using FTP, the process is relatively simple and can be completed in just a few minutes.
The key is selecting a high-quality theme that matches your goals, loads quickly, works well on mobile devices, and receives regular updates. Once installed, take time to customize your theme, configure navigation menus, and optimize your website for performance.
With the right WordPress theme in place, you’ll have a strong foundation for building a professional website that attracts visitors and supports your online goals.